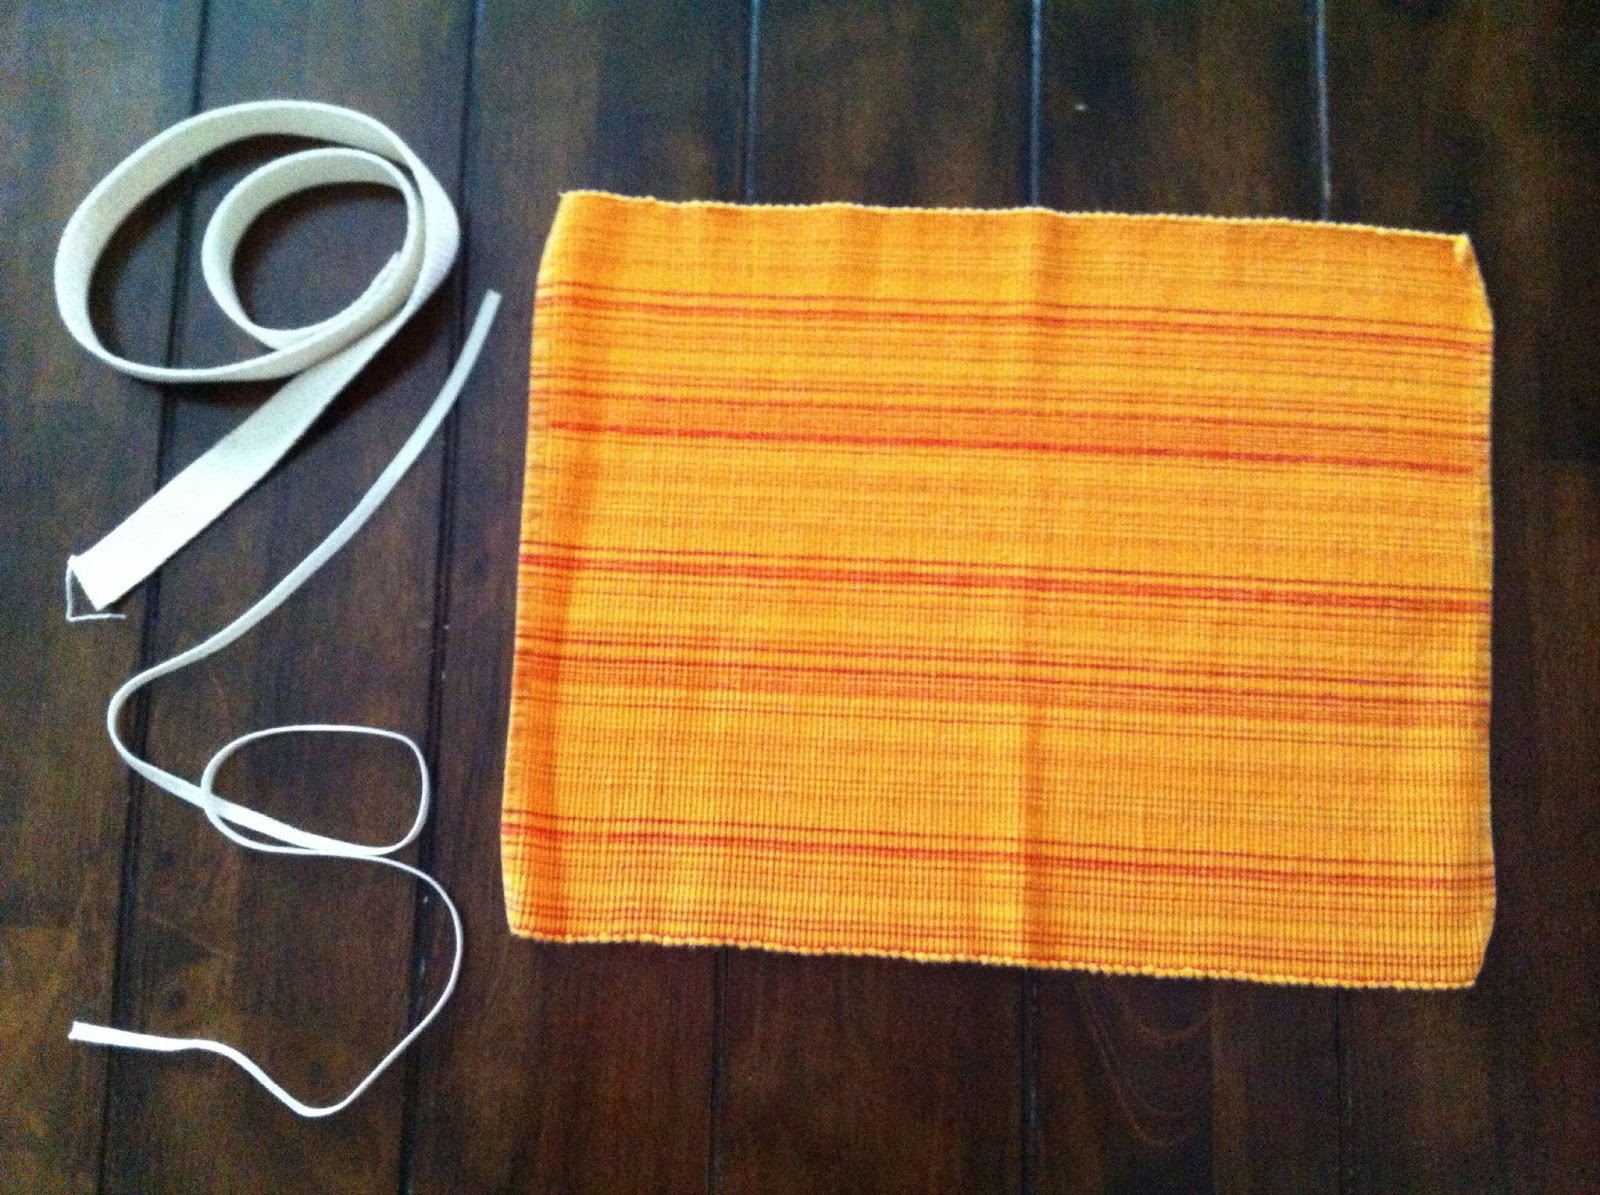
Supplies: One cotton
placemat (available at thrift stores for about $1), ¼” elastic (about 12”
long), cotton webbing or similar material for outside tie, ruler, sewing
machine (or very patient hands), and thread (I found it best to use two colors:
one contrasting or visible for the top thread and one that is the same color as
your placemat for the bottom…this is not vital but aesthetically more pleasingJ

Step 1: Cut off any tags. Fold over both long sides
measuring 2”. Pin into place at each end and in the middle.

Step 2: Using a
pencil and ruler, mark every 1 ½ inches.
This is where you will be stitching pockets for the block crayons.

Step 3: On the
opposite side, mark every 7/8 inch. This
side is for the stick crayons.

Step 4: Stitch! This part takes the longest. Zig-zag the
sides first, then using a straight stitch work from the middle toward the
outside. I found this helped with preventing
“bubbling” and fabric slipping. I also
backstitched every ¼ inch or so to reinforce for wear and tear…MAKE SURE YOU
BACKSTITCH AT THE TOP OF EACH OPENING.


Step 5: Assemble the
elastic band in the middle (for pencils). Pin the elastic, stitch the sides,
and mark each 7/8 inch (same as the stick crayon side). Stitch where marked.


Step 6: Either stitch
or knot the ends of the cotton webbing (or similar material). Stitch into place
at one of the short ends. Sit back and
marvel in your beautiful work, you’re done!

